Contents
There are a lot of ways to set up a Linux media server. One common approach is to provide LAN-serving content from a Linux media server. This is where you simply host media on a file server so you can pull down and watch/listen to the media in the player of your choice.
Today, we’re going to look at a different approach by setting up a Linux media server with Kodi. The Kodi media player, formerly known as XBMC, allows its users to have a big screen media server experience that looks just a great on the small screen as well. Kodi works great with Android and provides a great viewing experience in a web browser.
Unlike Plex media server, Kodi can’t be viewed on a Roku using an app. It can however, be installed on Android devices such as Amazon Fire TV by sideloading the Kodi app onto the device. So if you’re looking to watch Kodi on the big screen, a media device that runs Android or Linux would be highly recommended.
This article will demonstrate just how simple it is to install Kodi onto a Linux powered device.
Selecting a Linux media server for Kodi
Choosing the right server to run Kodi on is actually a bit confusing. The reason for this is that Kodi is more or less a frontend client, not a server in the true sense of the word. That said, you can run the Kodi software on a device that acts as a server. An example of this would be to have the media you wish to watch connected to the same device from which you’re running Kodi software. In this instance, it would be fair to call the device in question a Linux media server with Kodi.
For some of you, it might make sense to run Kodi on a Raspberry Pi3. For others, maybe you decide to run Kodi on an old Linux box that is connected to your TV via HDMI. Whatever you choose, the key thing to remember is that you need be mindful of where you’re pulling media content from.
All of my media content is stored on series of external hard drives attached to an old laptop. This may seem a bit odd, but this media storage method has been flawless for years now. The biggest consideration with this type of media storage is that the media is connected to a wired network connection. This ensures the media can stream as smoothly as possible from the source device.
Installing Kodi onto a media server running Linux
Before you attempt to install Kodi, you must first be sure to add the needed repositories for your Kodi installation. For Ubuntu users, this means adding the team-xbmc PPA repository.
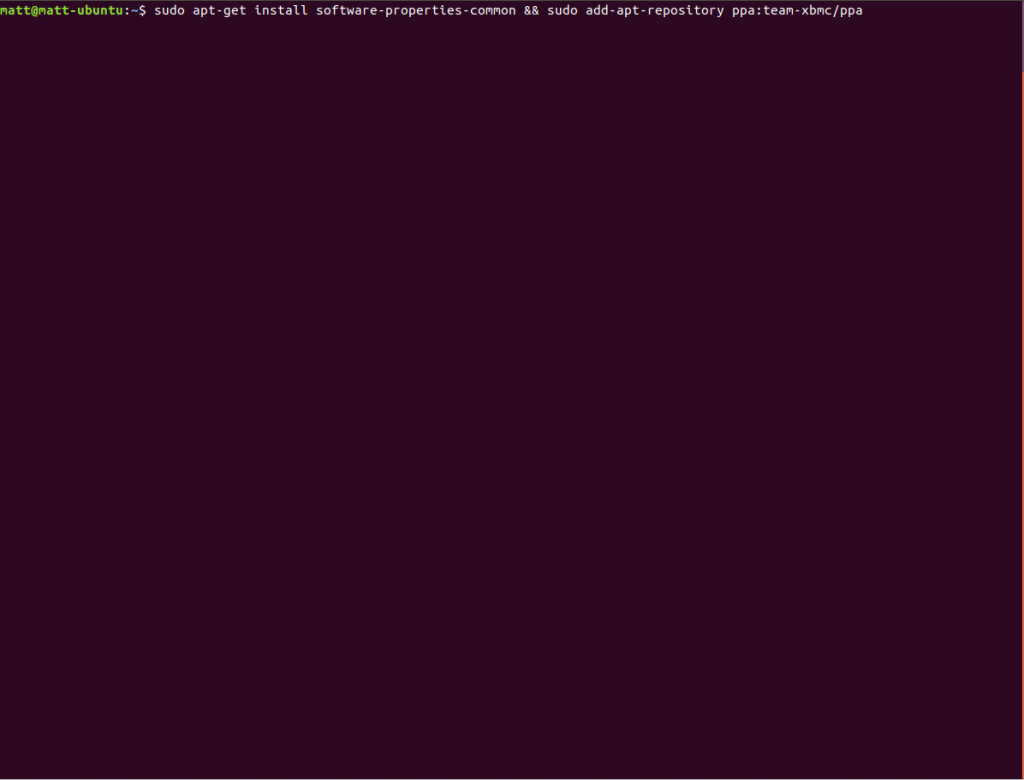
The official Kodi documentation states that you need to install software-properties-common along with the rest of the Kodi installation. Last time I checked, most Ubuntu-based distros come with software-properties-common. Still, perhaps some variants do not, so it’s best to to follow this guide to the letter if you’re installing Kodi onto the Ubuntu desktop even if you plan on treating it like a server.
sudo apt install software-properties-common
sudo add-apt-repository ppa:team-xbmc/ppa
sudo apt update && sudo apt install kodi
Should you wish to also install additional audio codecs and other Kodi-related goodies, you would run this command instead of the last line above.
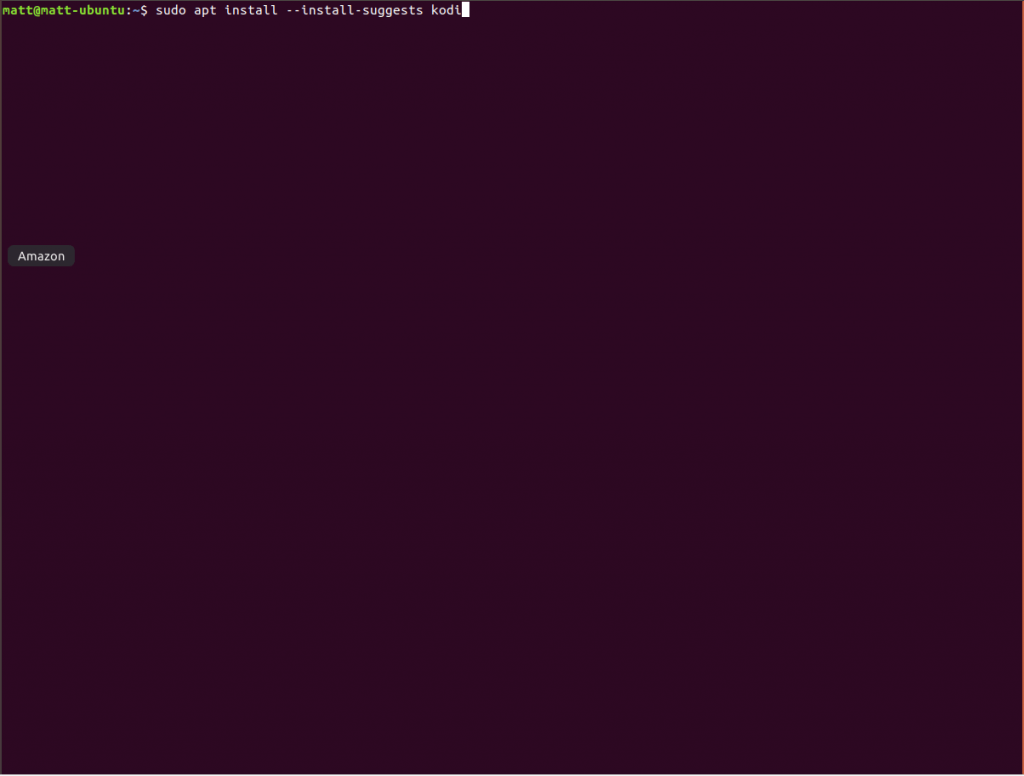
sudo apt-get install --install-suggests kodi
That’s it. You’ve successfully installed Kodi on your Ubuntu Linux box!
Running Kodi on your Linux media server
There are two ways to run Kodi from a graphical Ubuntu installation. The first is to simply go to Activities in Ubuntu GNOME and type Kodi, then hit enter. The second way would be to open up a terminal and type in Kodi (all lower case) then hit enter. Whichever method you choose, Kodi will immediately come to life and you’re then free to browse around its features.
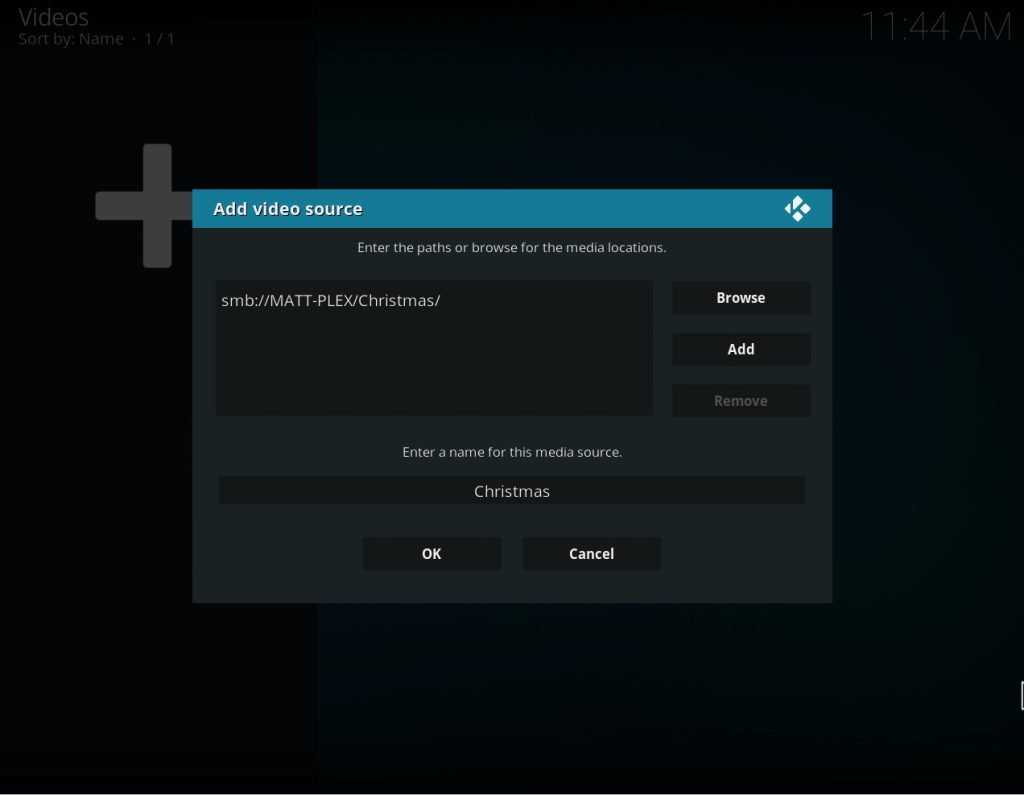
One of the first things you’ll want to do at this point is add some media access to your Kodi box. If you’re accessing a remote share on your LAN, you might be accessing the media for Kodi using Samba or NFS. On the other hand, if the media is locally attached to the device running Kodi, then you would merely need to browse to the storage device and set it up as the video shown below.
Support Our Future Videos - Patreon

Once the media is “mounted” and ready to go, you’ll be able to enjoy your video media immediately from the Kodi player software. Remember that you don’t have to run Kodi under the Ubuntu GUI environment if you don’t want to. Simply log out of Ubuntu, use the gear shift icon to switch from Ubuntu to Kodi and log back in. That’s all there is to it. You just created a dedicated Kodi box.
If you’d like to add “web server functionality” to your Kodi installation, you can do so with the built-in Kodi web server.
Keeping it all local – the proper self-attached Linux media server with Kodi
One final thought I want to leave you with is this. If you are not looking to setup a Kodi media client and instead, then this would be my advice.
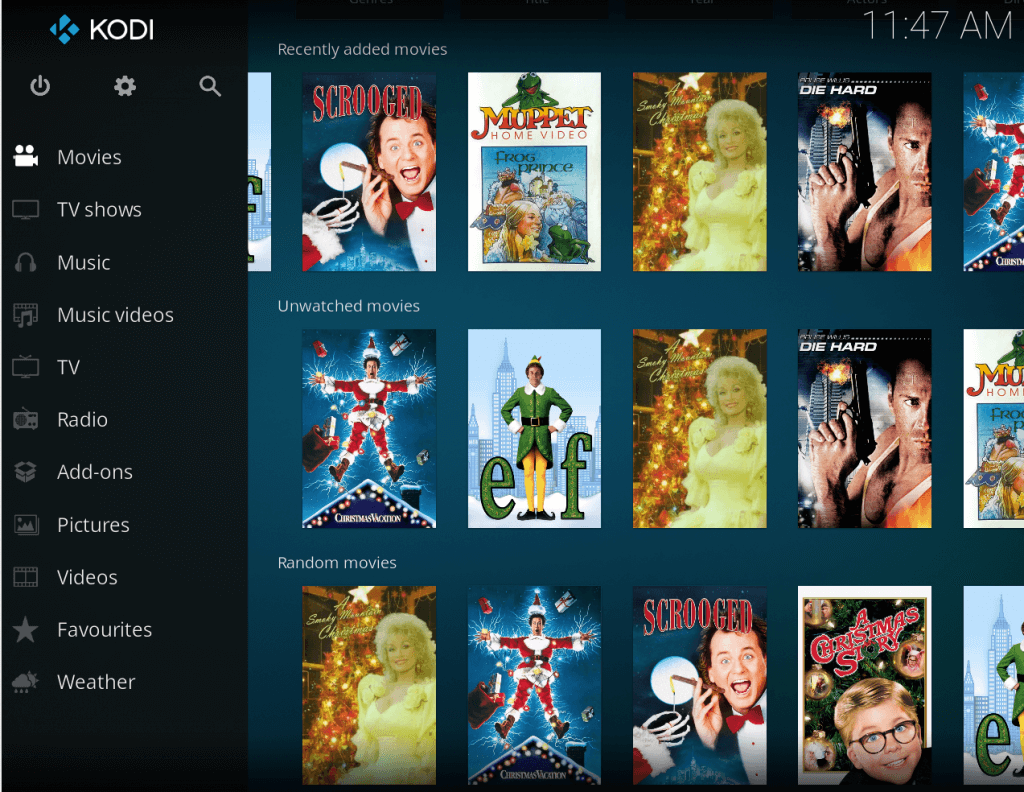
- Setup an Intel Nuc running Kodi on any Ubuntu derivatives you want.
- Attach the media storage via USB to the Kodi enabled device.
- Connect to your TV using HDMI; make sure to configure your audio to route itself over HDMI if needed.
- Enjoy.




Leave a Reply
You must be logged in to post a comment.