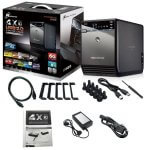
In the previous Linux ZFS File Server article I put forth a list of parts that allowed me to utilize an old Vista laptop as a Linux+ZFS fileserver. In this article, I will detail how to put all the pieces together, from installing the Linux OS to connecting all the hard drives.
First, we need to connect all the hardware. The eSATA card needs to be plugged into the slot, the USB3 Ethernet adapter needs to go in an available USB2 slot and connected with a CAT5 or better (CAT5e, CAT6) Ethernet cord to your existing router.
For the OS install part, we can leave the Probox unpowered and unconnected to the eSATA card.
If you’re planning on doing 2 separate ZFS pools, then you can (for example) have 2x1TB WD RED NAS drives and 2x2TB Seagate NAS drives in the same enclosure. This configuration can also come in handy if you want to practice growing a non-RAIDZ ZFS pool in-place – replacing 1TB drives with 2TB (or 4TB) one at a time, in order to give your existing pool more available free space.
Obtaining and installing the OS
Before starting on this, you will need to have downloaded and burned to DVD (it’s ~762MB, so won’t burn to a standard CDR) ” lubuntu-14.04.5-desktop-amd64.iso “:
- At the initial boot screen, you will want to select “ Install Lubuntu “. You can choose to download updates while installing if you’ve already connected the Ethernet, but you don’t need to install Fluendo.
- You could just as well choose to use Xubuntu, but I prefer Lubuntu for really low hardware requirements and resource usage. As long as it’s 64-bit, either will work for ZFS.
When it comes to disk partitioning, choose “Something else”:

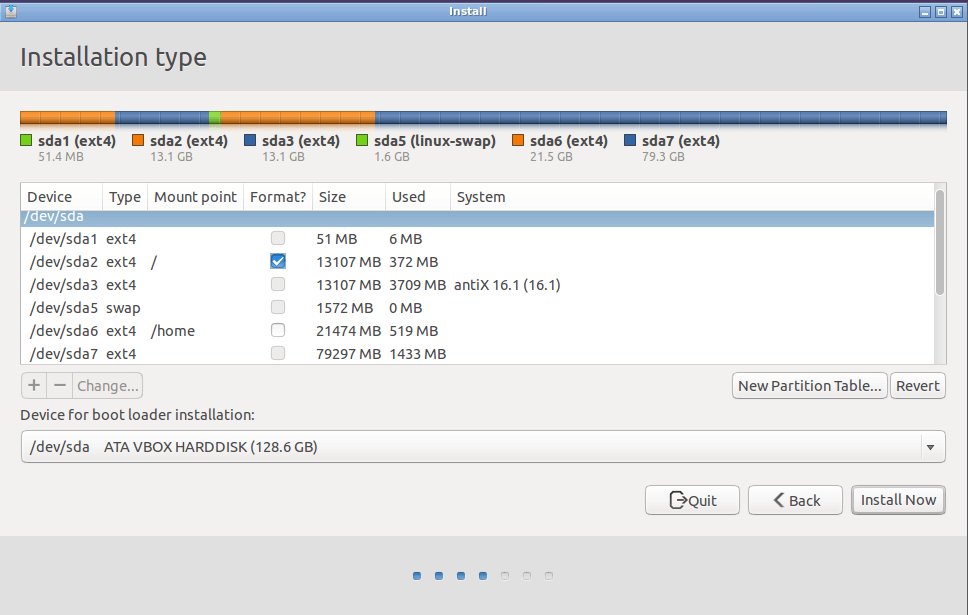
I am using Virtualbox here to recreate the laptop hard disk setup and provide convenient screenshots. If you’re ditching Vista and reusing the hard drive as Linux only, you may want to use a partition scheme that goes something like this:
- SDA2 as the root filesystem to install Lubuntu 14.04 – at least 15GB;
- SDA3 as reserved space for another OS install;
- SDA4 as Extended partition;
- SDA5 as shared swap; (you might as well go ahead and make it 2GB to match installed RAM)
- SDA6 as shared /home;
- SDA7 as /mnt/extra.
It’s up to you whether you want to reserve space for another dual-boot Linux OS or just leave it as unused space for a future upgrade but I highly recommend doing this, as it will save you time later. (You could also install Centos or Fedora if you’re more familiar with them.) ~20GB each should be plenty for a 64-bit Linux root filesystem and /home unless you have really specific requirements.
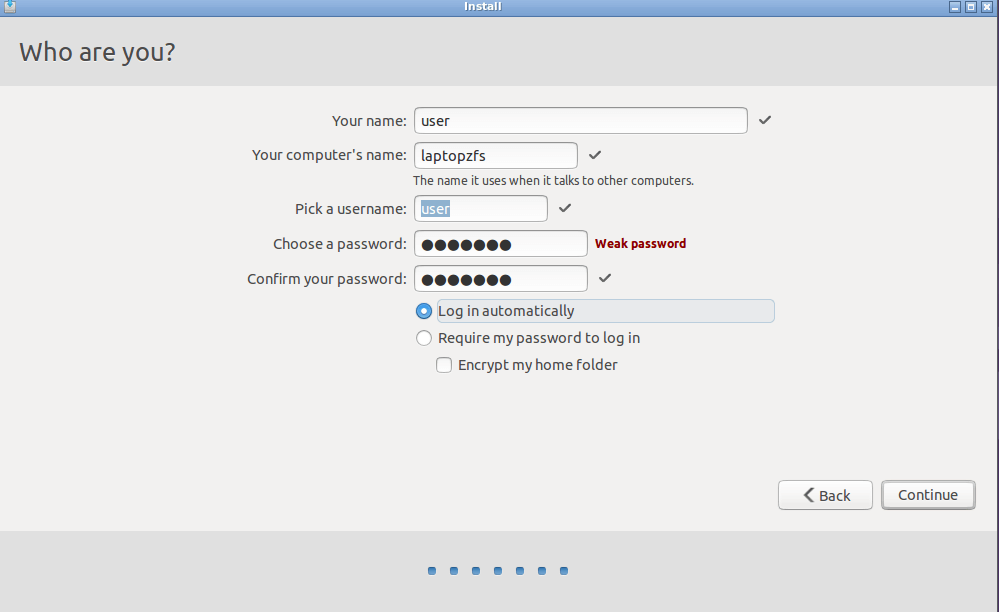
The install will ask you what non-root username you want to use to login; you can use pretty much whatever is most useful to you, but use a non-weak password if you’re concerned about security. This example is setup for convenience and will automatically start the GUI desktop after booting:
After the install completes and you’ve finished rebooting, open up a Terminal:
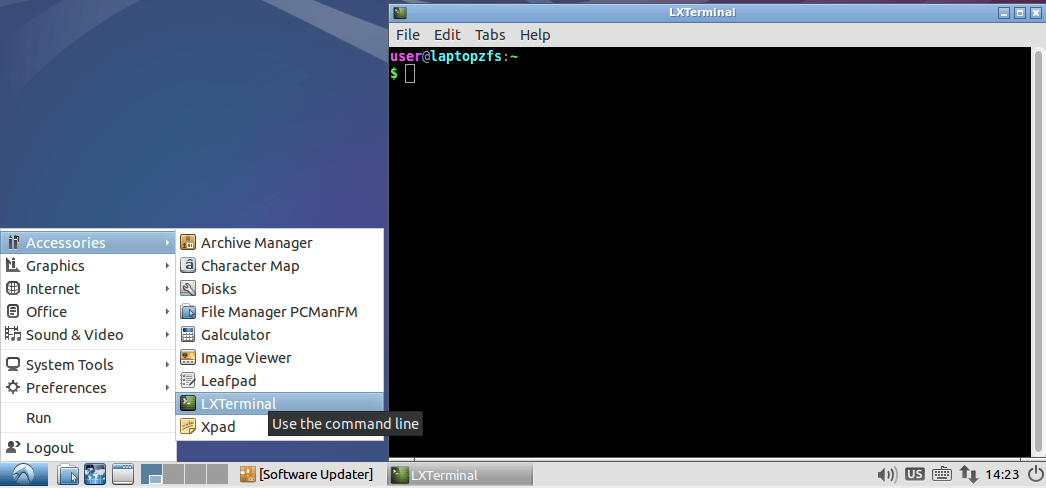
At the Terminal, type in ‘ sudo su - ‘ to become root.
Before proceeding with the ZFS install, we should bring the rest of the system up to date, so issue:
apt-get update && apt-get upgrade
- As of this writing, from a base install of the latest Lubuntu 14.04.5 ISO, it will need to download 112MB of updates – Firefox being one of them, which is why we haven’t started the browser yet.
- The update process will probably put a box up on the screen saying “ A new version of Ubuntu is available. Would you like to upgrade? ” IMPORTANT: YOU SHOULD CLICK ” DON’T UPGRADE “!! and then click OK on the next box. Otherwise it will attempt to upgrade Ubuntu 14.04 to 16.04(!) and at that point, you’re beyond the scope of this article. 😉
Once the updates are completed, reboot and then switch to virtual desktop #2 (by clicking on the 2nd “gray box” at the bottom left), fire up the Web browser and check out the ZFS on Linux Ubuntu instructions:
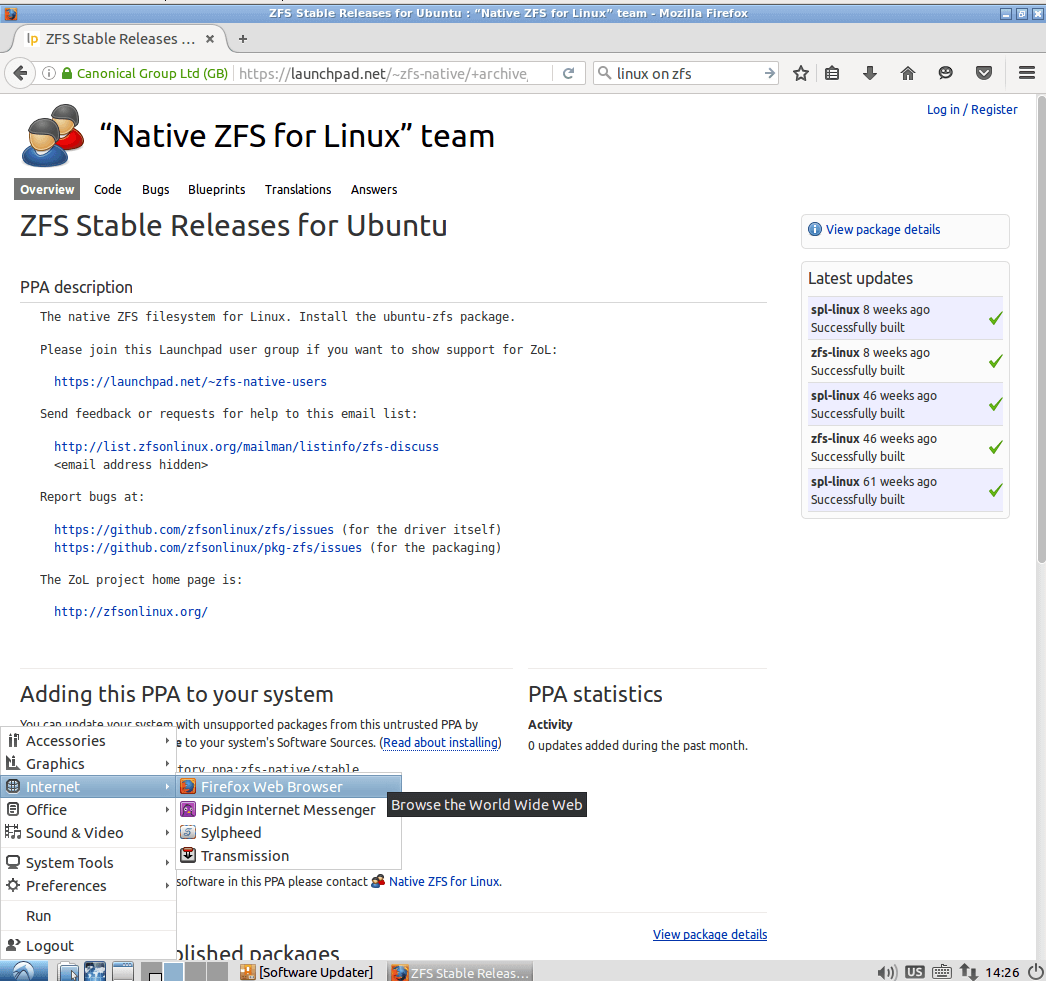
Reopen a Terminal on virtual desktop #1 and become root again. Follow the instructions on the ZFS on Linux webpage to add the ZFS repository and some needed software to your system:
add-apt-repository ppa:zfs-native/stable
apt-get update && apt-get install ubuntu-zfs samba smbclient smartmontools mc screen openssh-server build-essential
As of this writing, this will download ~50MB more to install the packages and dependencies.
After it’s all done installing and configuring, you can issue the following:
modprobe zfs
zpool status
And you should get a response of:
no pools available
- Finally, you can now plug in the Probox’s power supply, connect it with the included eSATA cable, and put at least (1) hard drive in it. Then, power it on with the switch.
- If you’re starting with 1 drive and working up to a full 4-drive RAID10, all four drives need to be the same manufacturer/model/capacity — e.g. Western Digital 1TB RED NAS drives, in my case.
PROTIP: Make sure the Probox is on the first setting – eSATA – not USB3.
After about 30 seconds (to allow things to settle), you can check to see if the new drive(s) were detected by issuing this command:
dmesg |egrep 'sd |scsi'which should show something similar to this:
[ 4.508395] scsi 9:0:0:0: Direct-Access ATA WDC WD10EFRX-68F 0A82 PQ: 0 ANSI: 5
[ 4.520897] sd 9:0:0:0: [sdb] 1953525168 512-byte logical blocks: (1.00 TB/932 GiB)
[ 4.521114] sd 9:0:0:0: Attached scsi generic sg2 type 0
[ 4.521483] scsi 11:0:0:0: Direct-Access ATA WDC WD10EFRX-68F 0A82 PQ: 0 ANSI: 5
[ 4.521922] sd 11:0:0:0: [sdc] 1953525168 512-byte logical blocks: (1.00 TB/932 GiB)
[ 4.521925] sd 11:0:0:0: [sdc] 4096-byte physical blocks
[ 4.522026] sd 11:0:0:0: [sdc] Write Protect is off
[ 4.522030] sd 11:0:0:0: [sdc] Mode Sense: 00 3a 00 00
[ 4.522075] sd 11:0:0:0: [sdc] Write cache: enabled, read cache: enabled, doesn't support DPO or FUA
[ 4.522443] sd 11:0:0:0: Attached scsi generic sg3 type 0
[ 4.523423] scsi 12:0:0:0: Direct-Access ATA WDC WD10EFRX-68F 0A82 PQ: 0 ANSI: 5
[ 4.524043] sd 12:0:0:0: [sdd] 1953525168 512-byte logical blocks: (1.00 TB/932 GiB)
[ 4.524047] sd 12:0:0:0: [sdd] 4096-byte physical blocks
[ 4.524148] sd 12:0:0:0: [sdd] Write Protect is off
[ 4.524152] sd 12:0:0:0: [sdd] Mode Sense: 00 3a 00 00
[ 4.524196] sd 12:0:0:0: [sdd] Write cache: enabled, read cache: enabled, doesn't support DPO or FUA
[ 4.524768] sd 12:0:0:0: Attached scsi generic sg4 type 0
You will need to have at least an “sdb” drive (sda should be your Linux install) before proceeding.
Once you have the drive(s) detected by the OS, we can get to the good parts – configuring your ZFS pool and sharing the data set(s) over Samba! 🙂
Next Article: Part 3 – Creating and Growing Your ZFS Pool
